
Semantic Release (Please)
Published: 2024-02-10
Using release-please to automate software releases using Semantic Commits (without the bloat).
In this post, I’ll give a quick how-to on using release-please as a tool to automate releases using Conventional Commits.
There are a few alternatives out there, but they are mostly bloated (either on their own terms or via a plugin ecosystem), highly opinionated, they force you into a certain workflow, or they are written with only a JS/TS stack in mind.
While unfortunately it’s still written in JS/TS, it’s nowhere near as opinionated, it’s super lightweight, and it doesn’t force you into some wacky workflow (other than the PR > release workflow, which I’ll explain).
The tool should be ran on every merge to the branch you want to release from. It will perform certain operations depending on the source branch and whether there is an open PR for a release.
For a release PR, it creates it’s own special branch that it understands. Only when one of these special branches are merged will it create a release.
Basically its: Merge to main > PR > Release, with the option to merge changes into your main branch as many times as you want before triggering the release.
Workflow for Merging a Feature Branch
-
The Release-Please Job is Triggered:
- The process begins when the ‘release-please’ job is triggered on a merge to the branch you want to release from.
-
Checking for Feature/Fix Commits:
- Determine if there are any ‘feature’ or ‘fix’ commits.
- If there are no feature/fix commits, the process stops here (do nothing).
- If there are feature/fix commits, proceed to the next step.
- Determine if there are any ‘feature’ or ‘fix’ commits.
-
Handling the Release Pull Request (PR):
- Check for the existence of an existing branch + PR for a release. This is a special branch created by the tool.
- If an existing release PR is found:
- Update the changelog in the branch and the PR description with notes on latest feature/fix changes.
- If no existing release PR is found:
- Create a new release PR.
- Add the label ‘autorelease: pending’ to the new PR.
- Include any necessary changes for the changelog in this new PR.
- If an existing release PR is found:
- Check for the existence of an existing branch + PR for a release. This is a special branch created by the tool.
-
Finalizing the Feature Branch Merge:
- At this point, if there were feature/fix commits merged into the main branch, a PR for a release will be prepared.
- When ready to release, merge the prepared PR. This action triggers the next phase of the workflow.
Workflow for Merging a Release Branch
-
The Release-Please Job is Triggered:
- Similar to the feature branch, this process starts when the ‘release-please’ job is triggered for a release branch.
-
Determining Branch Type:
- Assess if the branch in question is a ‘release-please’ branch.
- If it is not a release-please branch, the process ends here (do nothing).
- If it is a release-please branch, proceed to create a release.
- Assess if the branch in question is a ‘release-please’ branch.
There is an official GitHub action available for us to use, which we’ll explore now.
GitHub Actions Workflow
For this example, we’ll deploy a cli tool that is written in Go, and we’ll upload some assets (the Go binaries) to the release for completeness.
The path we’ll be building is cmd/shed, and we’ll use xgo to target multiple platforms, uploading the binaries to GitHub releases after it is created by release-please.
Here is the full workflow:
name: Build & Release

on:
  push:
    branches:
      - main

permissions:
  contents: write
  pull-requests: write

jobs:
  Release:
    runs-on: ubuntu-latest
    steps:
      - name: Release Please
        id: release-please
        uses: google-github-actions/release-please-action@v4
        with:
          release-type: go
          token: ${{secrets.GITHUB_TOKEN}}
      - uses: actions/checkout@v4
        if: ${{ steps.release-please.outputs.release_created }}
      - uses: actions/setup-go@v4
        if: ${{ steps.release-please.outputs.release_created }}
        with:
          go-version: 1.22
      - name: Build
        if: ${{ steps.release-please.outputs.release_created }}
        uses: crazy-max/ghaction-xgo@v3
        with:
          xgo_version: latest
          go_version: 1.22.x
          pkg: cmd/shed/
          dest: bin
          prefix: shed
          targets: linux/amd64,darwin/amd64,darwin/arm64,windows/amd64
          v: true
          ldflags: -s -w
      - name: Upload Release Binaries
        if: ${{ steps.release-please.outputs.release_created }}
        env:
          GITHUB_TOKEN: ${{ secrets.GITHUB_TOKEN }}
        run: gh release upload ${{ steps.release-please.outputs.tag_name }} ./bin/*
Let’s go through it step by step.
Permissions
Before we get into steps, the action requires some extra permissions defined in the workflow file:
permissions:
  contents: write
  pull-requests: write
We’ll also need to allow GitHub actions to create pull requests by allowing it in the repo’s settings via:
Settings > Actions > General > Allow GitHub Actions to create and approve pull requests
Steps
The first step is the release-please job. It’s pretty self-explanatory in terms of what to configure, and it just executes the workflow outline above.
It needs the default GITHUB_TOKEN (available in all pipelines).
There are no rules for when this step should run - we want it to run on every push to main, as defined in the global on rules at the top on the action.
- name: Release Please
  id: release-please
  uses: google-github-actions/release-please-action@v4
  with:
    release-type: go
    token: ${{secrets.GITHUB_TOKEN}}
All steps that follow the release-please step are only ran on a certain condition: if the release_created output from the release-please step is true.
if: ${{ steps.release-please.outputs.release_created }}
This output is only true when a release-please specific branch is merged to main (from a release PR), and a release is created by the tool.
The first conditional step is self explanatory, which just checks out main and sets up Go:
- uses: actions/checkout@v4
  if: ${{ steps.release-please.outputs.release_created }}
- uses: actions/setup-go@v4
  if: ${{ steps.release-please.outputs.release_created }}
  with:
    go-version: 1.22
The great thing about release-please is that none of these hefty steps need to run unless we actually release, so it’s a super quick pipeline in almost all cases.
At this point, we have a GitHub release with the changelog, description, etc, etc.. But, we don’t have any binaries for our cli tool.
So, the next step is to build the binaries with xgo:
- name: Build
  if: ${{ steps.release-please.outputs.release_created }}
  uses: crazy-max/ghaction-xgo@v3
  with:
    xgo_version: latest
    go_version: 1.22.x
    pkg: cmd/shed/
    dest: bin
    prefix: shed
    targets: linux/amd64,darwin/amd64,darwin/arm64,windows/amd64
    v: true
    ldflags: -s -w
You can do this however you like, or publish whatever you like as assets, but just roll with the example.
Next, we need to publish the binaries to GitHub releases. We’ll do this with the gh CLI tool, which is available on the runners by default:
- name: Upload Release Binaries
  if: ${{ steps.release-please.outputs.release_created }}
  env:
    GITHUB_TOKEN: ${{ secrets.GITHUB_TOKEN }}
  run: gh release upload ${{ steps.release-please.outputs.tag_name }} ./bin/*
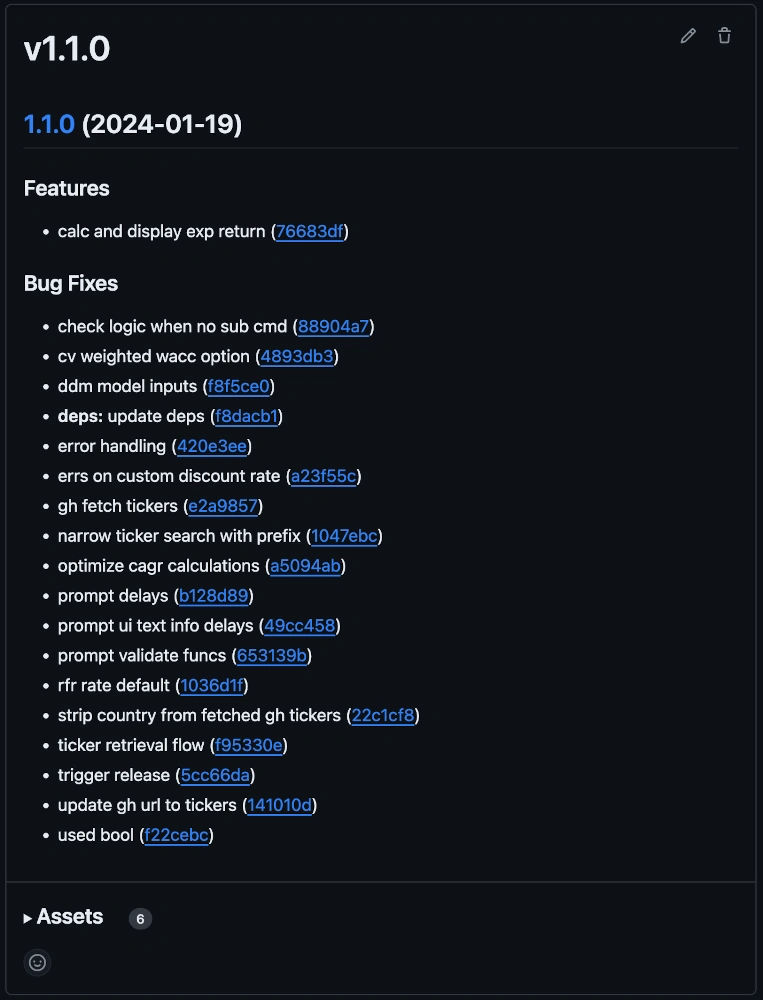
At this point, we have a full release with a list of fixes, features and chores, complete with binaries for our platforms published as assets.
Your First Release
By default, release-please will create the first release with the version number 1.0.0, which is not desired in any case..
To start at 0.0.1, create a commit like so before merging into main for the first time:
git commit -m "chore: release 0.0.1

Release-As: 0.0.1" --allow-empty
This will override the release version for the first PR, and subsequent releases are incremented correctly from there.
And that’s it, enjoy (please)!